http://www.itchy-animation.co.uk/tutorials/light.htm
http://www.3dtotal.com/team/Tutorials_3/basic_maya_lighting/basic_maya02.php
http://warpedspace.org/lightingT/part1.htm
http://www.creativecrash.com/maya/tutorials/rendering-lighting/c/faking-global-illumination
Tuesday, January 26, 2010
Sunday, January 17, 2010
Saturday, January 16, 2010
Photoshop Blending Modes
Layer Blending Modes in Photoshop and Elements
Blending modes
Photoshop and Elements allow for layer blend modes that change the way layers react with each other. Some of them you will use in every day work. If you have a photo that is too dark, for example, many times a quick fix is to duplicate the photo layer in the layers palette and change the duplicate layer mode to Screen. If a photo is too light it can sometimes be corrected by duplicating the photo layer and changing the layer mode to Multiply.
How do you know what layer blend mode to choose? Let's look at them and how they work, and take some of the mystery away! (Some. Not all.)
Color
To understand blend modes, you need to know a little about color. Color is light, and likewise, light is made up of many colors. Objects absorb or reflect these light waves. Our eyes perceive these wavelengths as color. Let's start with the color wheel.

The COLOR WHEEL has 12 segments that consist of primary, secondary and tertiary hues, or colors.
The three PRIMARY colors are RED, YELLOW, and BLUE. They form a triangle on the wheel. These colors cannot be mixed by combining any other colors. They are indicated on the color wheel with a P.
The three SECONDARY colors of ORANGE, VIOLET, and GREEN (marked on the chart by an S) are created by mixing equal parts of the primary colors they fall in between; ie, VIOLET is the secondary color produced by mixing equal parts of RED and BLUE.
The TERIARY colors are the colors that result from mixing the primary and secondary colors on either side of them: ie, mixing the secondary color ORANGE with the primary color RED results in red-orange. These colors are marked on the color wheel with a T.
Using the color wheel you can determine color schemes fpr balance and harmony in your artwork, webpages, desktop publishing designs or home decorating.
Hue: Hue refers to the color...red, blue, etc.
The primary, secondary, and tertiary colors, or hues, are these colors at their full saturation or brightness; that is, there, there is no white, gray, or black added.
Value: the lightness or darkness of a color, or the relative amount (percentage) of white or black in a hue.
Luminosity, or Lightness: A measure of the amount of light reflected from a hue. Those hues with a high content of white have a higher luminance, or value.
Tints: white when added in increments to any color results in a lighter value of that color, called a tint. Blue and white make light blue, which is a tint of Blue.
Shades: black or gray when added in increments to any color results in a darker value of that color, called a shade. Blue and Black make dark blue, a shade of blue.
Saturation: The degree of purity of a hue.
Intensity: The brightness or dullness of a hue. Iintensity maybe lowered by adding white or black.
The blending modes
In Photoshop and Elements the layer blend modes can be changed in the layers palette. In these programs, changing the layer blend mode affects the entire layer, even if you have a selection. In Illustrator the blend modes work basically the same, but a different blend mode may be applied to different objects on the same layer, so the blend mode popup is found in the transparency palette.

The dropdown menu on the left contains the blend modes which we'll discuss fully in a minute.
Normal is the default, and the objects interact with each other as if they were both solid color objects, at 100% opacity. When one is over the other, what is covered you can't see.
The rest of the modes interact with each other in different ways.
To use layer blend modes you have to have two or more layers. The blend mode will react with the layer below it. If you have only a background, the blend mode popup will be grayed out, as these modes cannot be applied to backgrounds.
For these demos I will be using an image with two layers. The blending mode will be applied to layer 1 and we'll look at the way they interact.
The background | layer 1 |
 |  |
Normal mode
| Normal mode is the default. The colors of the two layers will not interact in any way, and it will display the full value of the colors in layer 1. What you see in the image window will look like this. |
Dissolve
 | Dissolve makes the lower layer take on the colors of the top layer, and how much depends on the opacity of the upper layer. The layer 1 opacity is set at 50% here. Disolve only affects pixels with some transparency, which is why I lowered the opacity to 50% in this example. |
Darken
 | Darken compares each pixel value of the upper layer to its counterpart's pixel value of the lower layer and chooses the darker of the two to display. |
Multiply
 | Multiply darkens the lower layer based on the darkenss of the upper layer. No part of the image will get lighter. Any applied tone darker than white darkens the lower layer. White becomes transparent.
|

Color Burn
 | Color Burn burns in the color of the upper layer with the lower layer. No part of the image will get lighter. |
Linear Burn
 | Linear Burn works like multiply but the results are more intense. |
Lighten
 | Lighten compares the two layers pixel for pixel and uses the lightest pixel value. No part of the image gets darker. |
Screen
 | Screen brightens by lightning the lower layer based on the lightness of the upper layer. The result is always lighter, and makes it a good mode for correcting exposure in photos that are too dark. |
Color Dodge
 | Color Dodge dodges the lower layer with the upper layer, resulting in a lighter image. No part of the image will be darkened. |
Linear Dodge
 | Linear Dodge works like screen but with more intense results. |
Overlay
 | Overlay multiplies the light colors and screens the dark colors. |
Soft Light
 | Soft Light will multiply the dark tones and screen the light tones. |
Hard Light
 | Hard Light muliplies the dark colors and screens the light colors. |
Vivid Light
 | Vivid Light will dodges or burn the lower layer pixels depending on whether the upper layer pixels are brighter or darker than neutral gray. It works on the contrast of the lower layer. |
Linear Light
 | Linear Light is the same as Vivid light but it works on the brightness of the lower layer. |
Pin Light
 | Pin Light changes the lower layer pixels depending on how bright the pixels are in the upper layer. It acts like Multiply when the upper layer color is darker than neutral gray, and acts like screen if the upper layer color is lighter than neutral gray.
|
Difference
 | Difference reacts to the differences between the upper and lower layer pixels. Large differences lighten the color, and small differences darken the color. |
Exclusion
 | Exclusion uses the darkness of the lower layer to mask the difference between upper and lower layers. |
Hue
 | Hue changes the hue of the lower layer to the hue of the upper layer but leaves brightness and saturation alone. |
Saturation
 | Saturation changes the saturation of the lower layer to the hue of the upper layer but leaves brightness and hue alone. |
Color
 | Color changes the hue and saturation of the lower layer to the hue and saturation of the upper layer but leaves luminosity alone. |
Luminosity
 | Luminosity changes the luminosity of the lower layer to the liminodity of the upper layer while leaving hue and saturation the same. |
(http://www.northlite.net/ps/blend.htm)
Tuesday, January 12, 2010
Cactus - Bumblefoot
If you sit in a pot of dirt with nothin' to say - you're a cactus
If you spend all day starin' at the sun - you're a cactus
If you don't wanna get close so you wear a coat of pins - you're a cactus
If you keep your world barren like a desert - you're a cactus
If you have no face and need more space - you're a cactus
If you like to hide in the sand - you're a cactus
If you can't seem to get anything done - you're a cactus
And if the company of tumbleweed is unexpected fun - you're a CACTUS!
If you fit in perfectly in an empty room - you're a cactus
If you hurt anyone who bumps into you - you're a cactus
If your social circle is you - you're a cactus
If you're referred to as 'what' instead of 'who' - you're a cactus
If your skin is green and you have no spleen - you're a cactus
If simple creatures think of you as mean - you're a cactus
If life-sucking weeds won't even go near ya - you're a cactus
And if balloons fear ya - you're a CACTUS!
If the world finds you abrasive - you're a cactus
If you're unique with a plain physique - you're a cactus
If you're full of wine and have no spine - you're a cactus
If you resemble a sleeping porcupine - you're a cactus
If no one wants to sit on your lap - you're a cactus
If you are full of, or considered a sap - you're a cactus...
Wednesday, January 6, 2010


Saturday, January 2, 2010
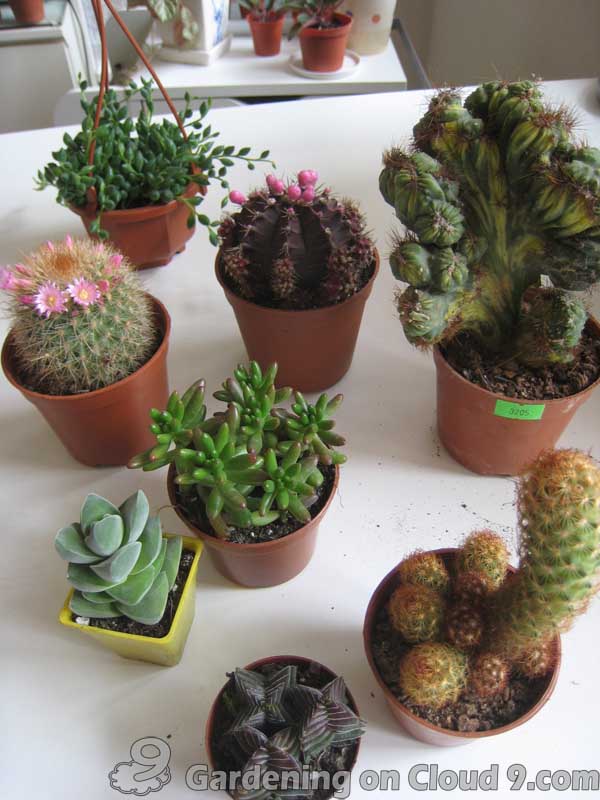
some visual reference for the cactus


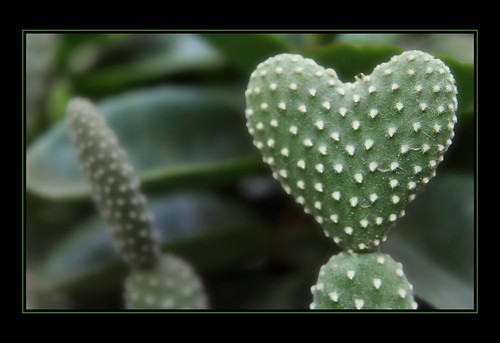

Not a cactus but somewhat related to the concept. I'll move this later.
Subscribe to:
Posts (Atom)